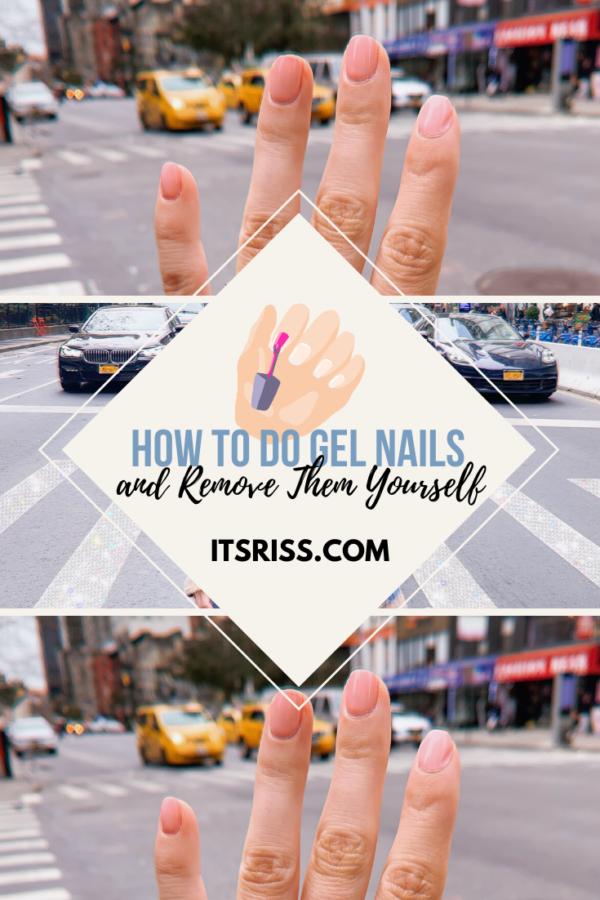
Whether you are looking to save time or money, learning to do your own gels nails will greatly benefit you! With some practice, gel nails are quite easy to do yourself at home, and it’s much easier than using traditional polish.
There is DEFINITELY a learning curve and a bit of an investment, but I promise it is 100% worth it. I know I’ve saved hundreds of dollars over the past 6 years I’ve had my Gelish LED Lamp Light, and my nails are always done. There are certain steps you cannot miss in this process, and that’s what I’m going to teach you today. If you don’t have the proper tools yet, you can check out my DIY Gel Nail Starter Kit.
ItsRiss uses affiliate links. Read the disclaimer for more info.
Follow along in my video walkthrough from gel removal to a fresh coat!
Removing Gel Polish
Removing gel nail polish is super quick and easy if you have the proper tools. Follow along:
- Use a nail file to buff the top layer of gel polish.
- Dip small pieces of cotton into pure acetone and place the cotton on your finger nail.
- Place nail soaker caps on your fingers with the cotton still inside.
- Wait about 5-10 minutes to let the polish soak.
- Remove the polish with a cuticle pusher by lightly scraping off the polish. This should be really easy to do if you soaked your nails long enough.
- Buff your nails again to remove any excess polish.
Giving Yourself a Manicure
Now that your hands are fresh and clean of polish, give yourself a manicure to reshape your nails and prep your nails for long-lasting gel polish.
- Shape your nails using a glass file. You can find plenty of Youtube videos if you are unsure of how to shape your nails.
- Squeeze a dab of cuticle remover on your cuticles and let it sit for 15 seconds.
- Push your cuticles back with a cuticle pusher.
- Use a cuticle trimmer to remove your cuticles.
- Wash your hands, and you’re ready for polish!
DO NOT SKIP removing your cuticles. If you paint over your cuticles, the polish will start to lift.
Applying Your New Gel Polish
Here comes the fun part! Make sure your LED lamp light is plugged in and set to 30 second intervals. I like to complete one hand at a time.
- Buff your nails again to remove any excess oils.
- Place your first coat, which will be the foundation polish. Cure this coat under the light for 30 seconds.
- Place your first coat of color polish VERY THIN on one hand. Cure this coat for 30 seconds.
- Repeat color coats and curing each coat for 30 seconds until you have a total of 2 or 3 coats. If you are using a lighter color, you may need to do 3 coats.
- Apply a thin final coat of “Top It Off” polish. Cure this final coat for 1 minute.
- Remove the sticky residue left on the top coat with rubbing alcohol.
- Now do your other hand!
DO NOT FORGET to remove the sticky residue with alcohol at the end.
Show Me Your Manicure!
Want more lifestyle tips like this? Follow me on your fave social channel:Well, that’s all it takes. 😉 I hope this wasn’t intimidating because if I can do it, literally anyone can. Best of luck and keep practicing!
Leave a comment below if you tried a gel manicure yourself or have any extra tips for us! Also tag me on Instagram (@itsrisss) so I can see how your gel manicure turned out.
Xx,


Thanks for sharing the complete guide to apply and to remove the gel nails.